
Well, having acquired the Morgan and encountered some issues, I set about to sort them out!
Firstly, upon initially looking at the car, I discovered that the fuel filler hose had almost completely disintegrated:
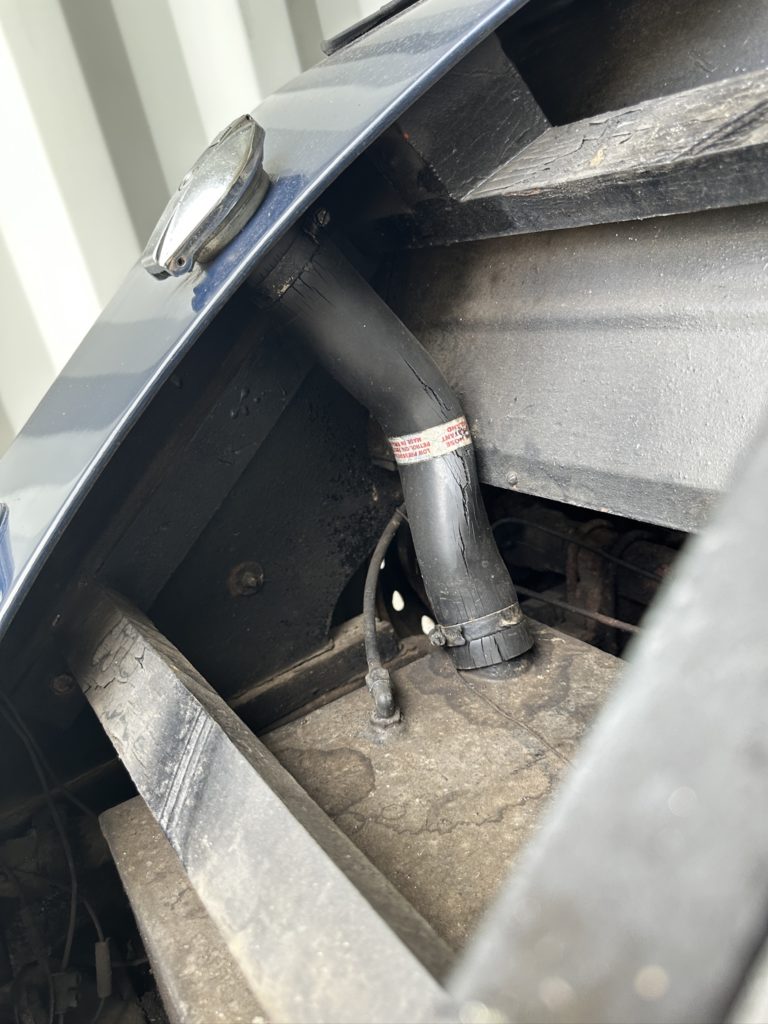
I ordered a new one, at an unexpectedly high cost (for a moulded piece of hose…) I might add, from Melvyn Rutter.
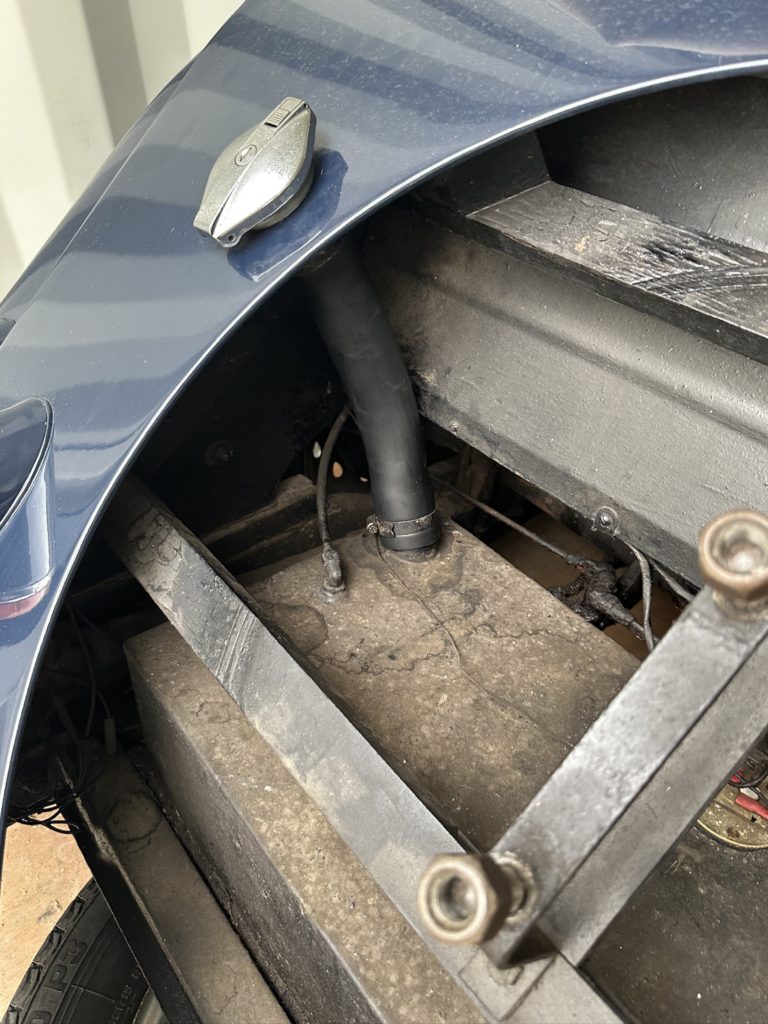
Which a few days later was subsequently installed.
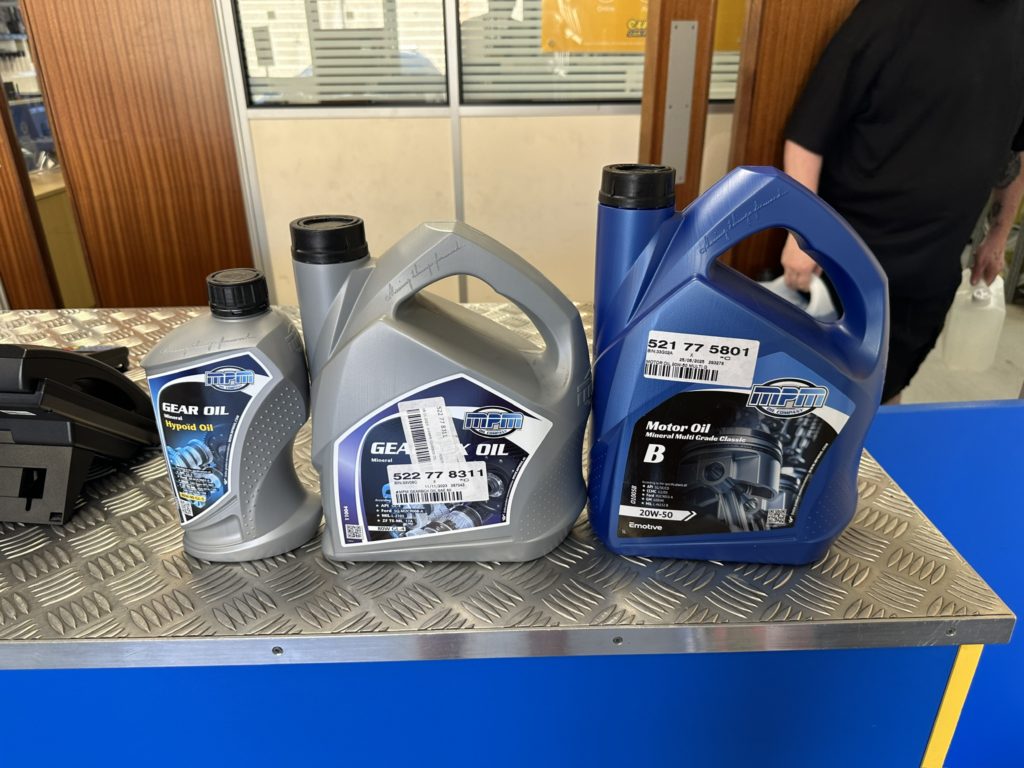
I went to Euro Car Parts and picked up some fluids:
I then went to the yard. Now, I had to work out how to get the car out of the container. To get it in I’d borrowed some ramps from a friends trailer, but these have a very thick end and whilst they could be used to roll the car in, getting the car over the lip to get it to go down the ramp without the ramp crashing down causing the bottom of the car to smash down on the container edge would present a challenge. Happily, back in 2019 when moving some IBM 360 Mainframes out of an abandoned building in Nuremberg, Germany I constructed a wooden ramp:
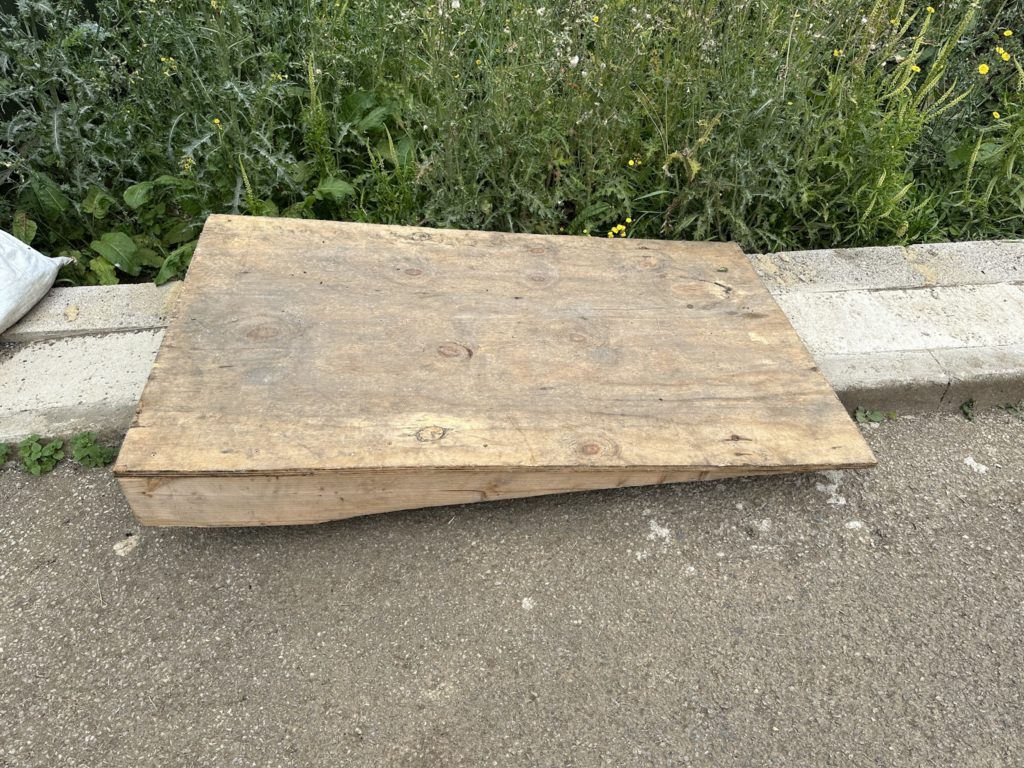
This construction has thus been affectionately known as Rampy McRampface. I’ve used it to move some ridiculously heavy things, and indeed it just so happens to be the perfect height (literally) for the container. However, this ramp is in no way the correct width for the car, and thus some modifications had to be made. I in no way claim to be even a vaguely competent carpenter (which bodes well for any potential wood work on the Mog), but I can usually put wood together in a sufficient way to fit a purpose. Hence, the expanded Rampy McRampface came into existence:
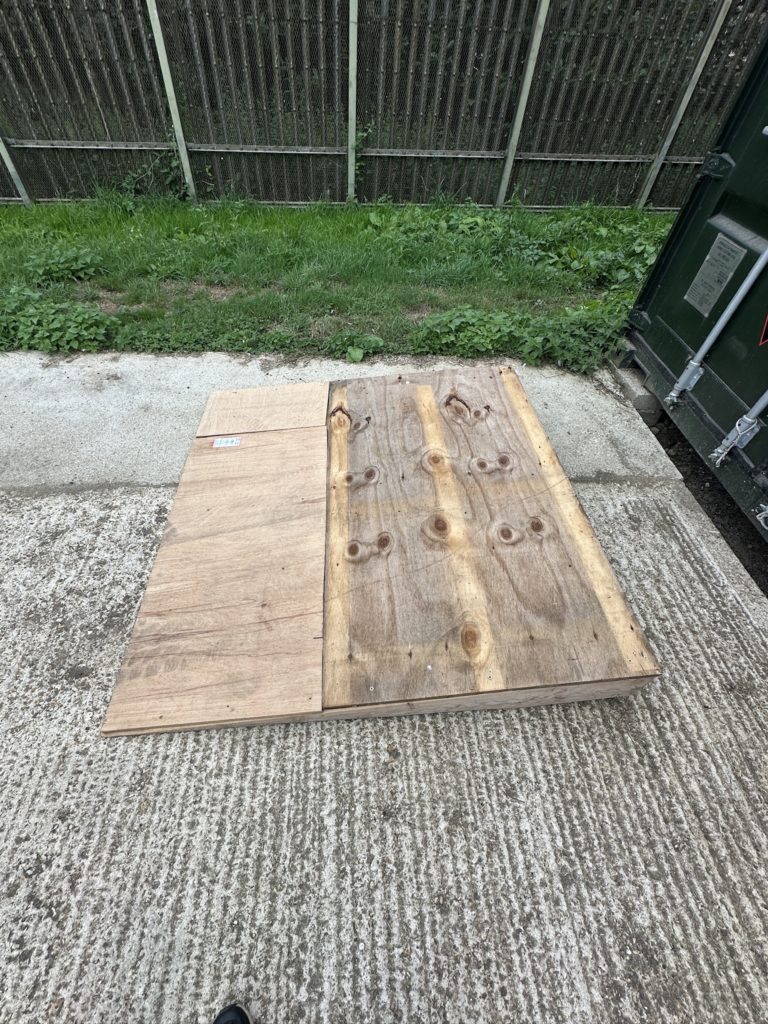
This is sufficiently wide to get the car down, and uses all of the original ramp parts plus some additional ply that we used when we shipped the aforementioned IBM 360’s to the US on loan (you can see them at System Source Computer Museum if you happen to be in Maryland).
Happily, whilst I’d been sitting down at the roadside broken down, I had logged on to Burton Power and ordered all the parts I thought I would need to get the car up and running again, which had been delivered the next day. This included:
- Top end cylinder head gasket set
- Water pump
- Fan belt
- Thermostat
- Thermostat housing gasket
- Points
- Rotor Arm
- Spark Plugs
- Distributor Cap
I also picked up a new battery from Halfords.
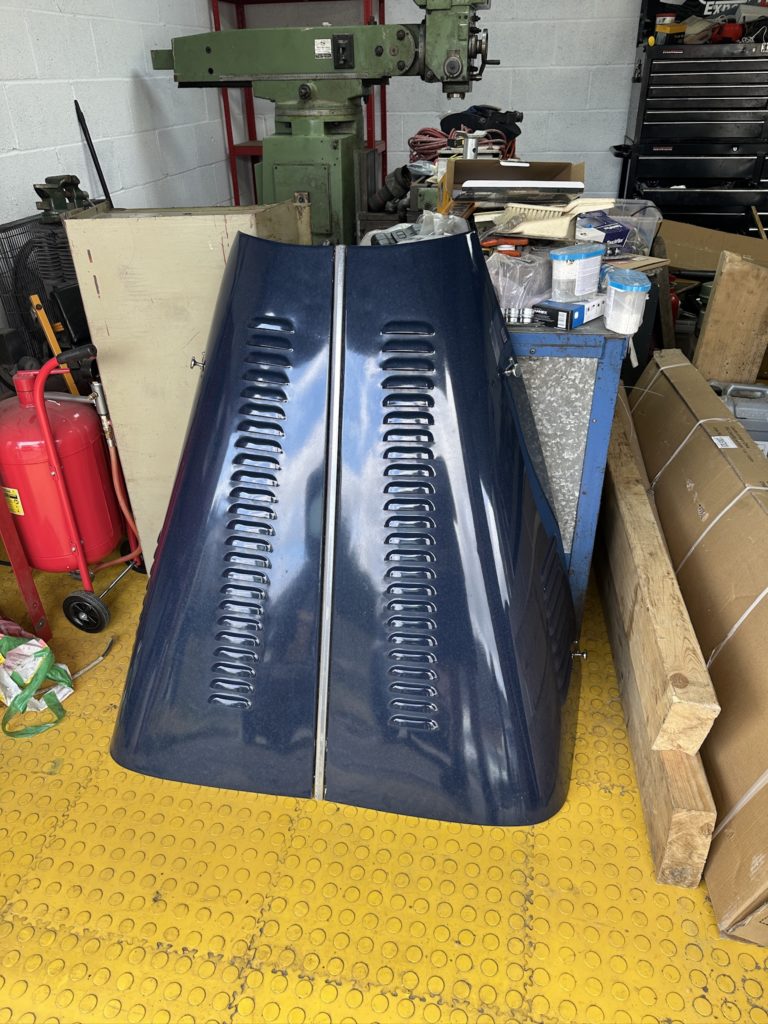
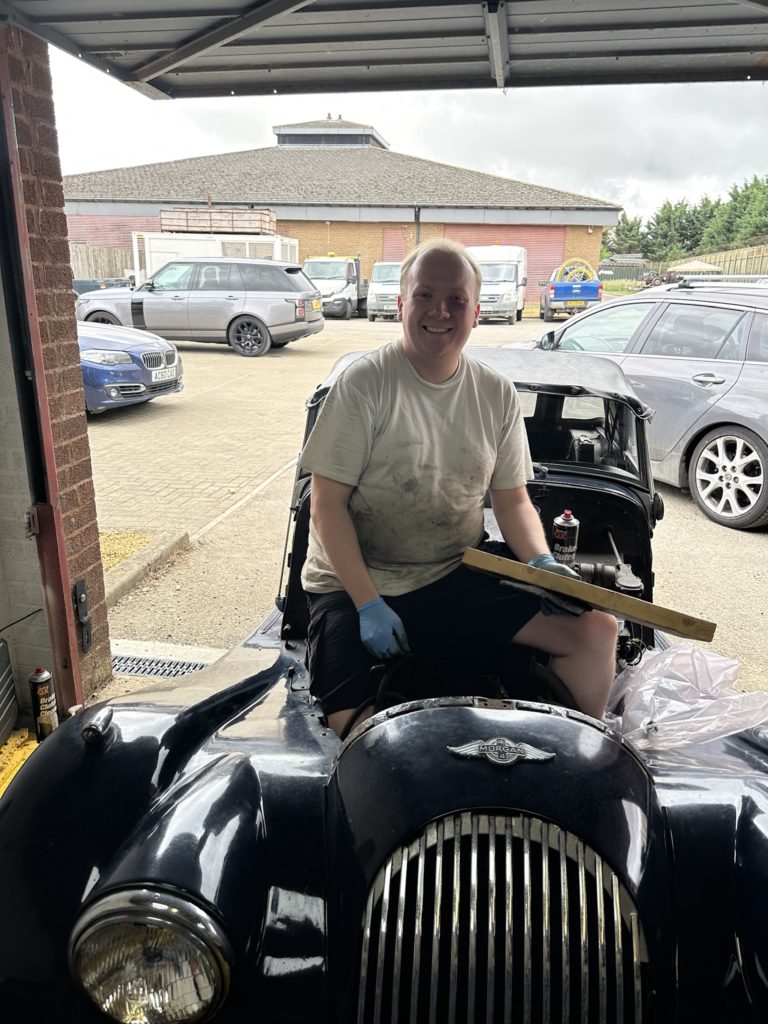
My father happily and helpfully volunteered to come and give me a hand at the workshop, which was very useful as removing a Morgan bonnet is certainly a two man job!
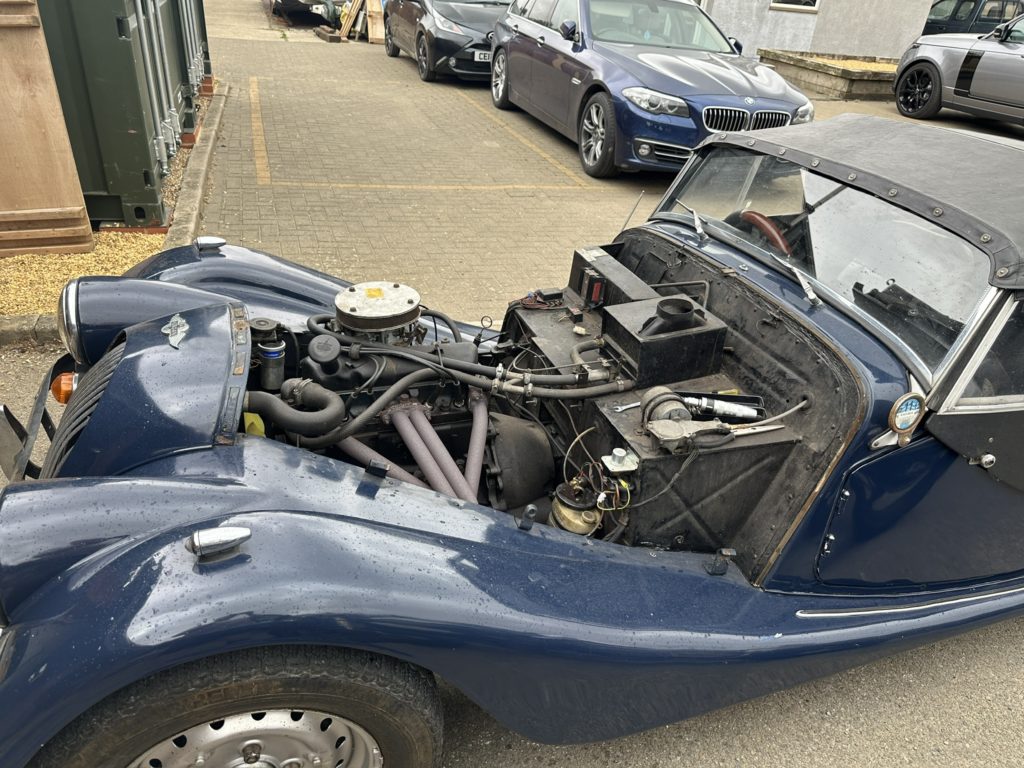
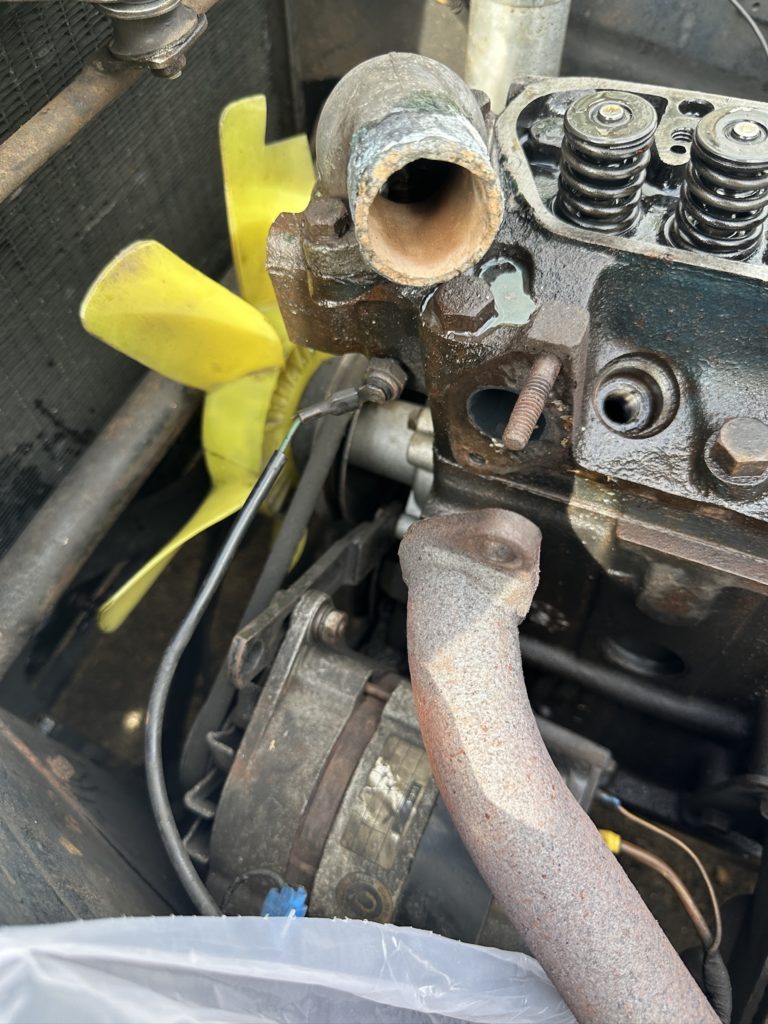
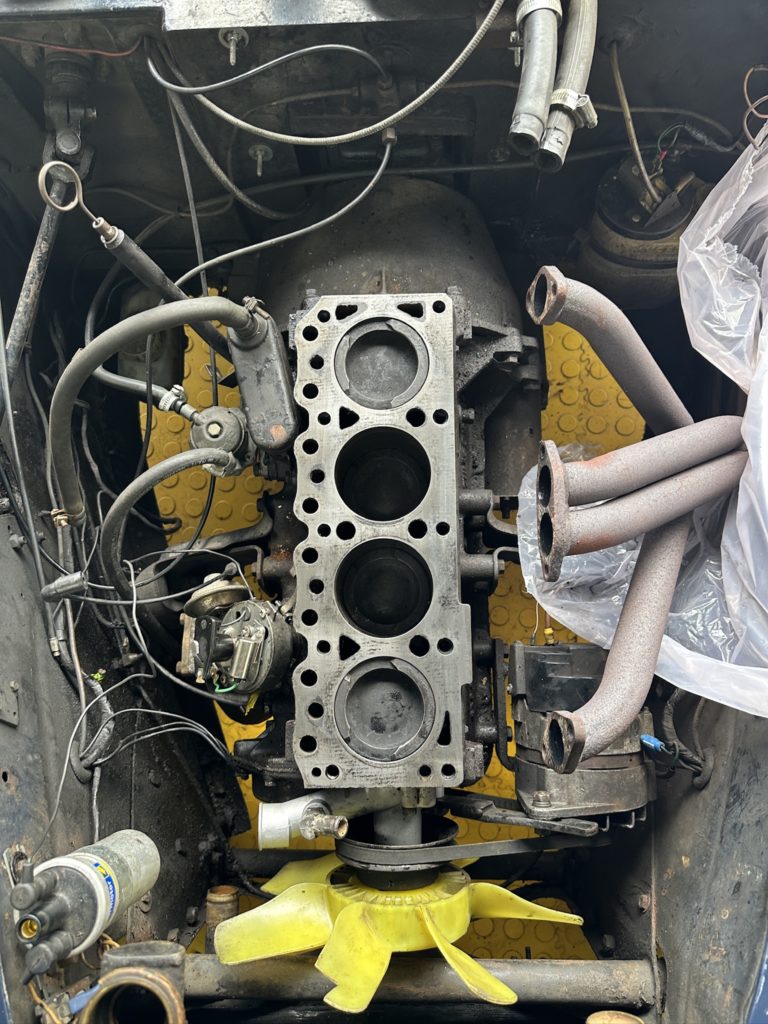
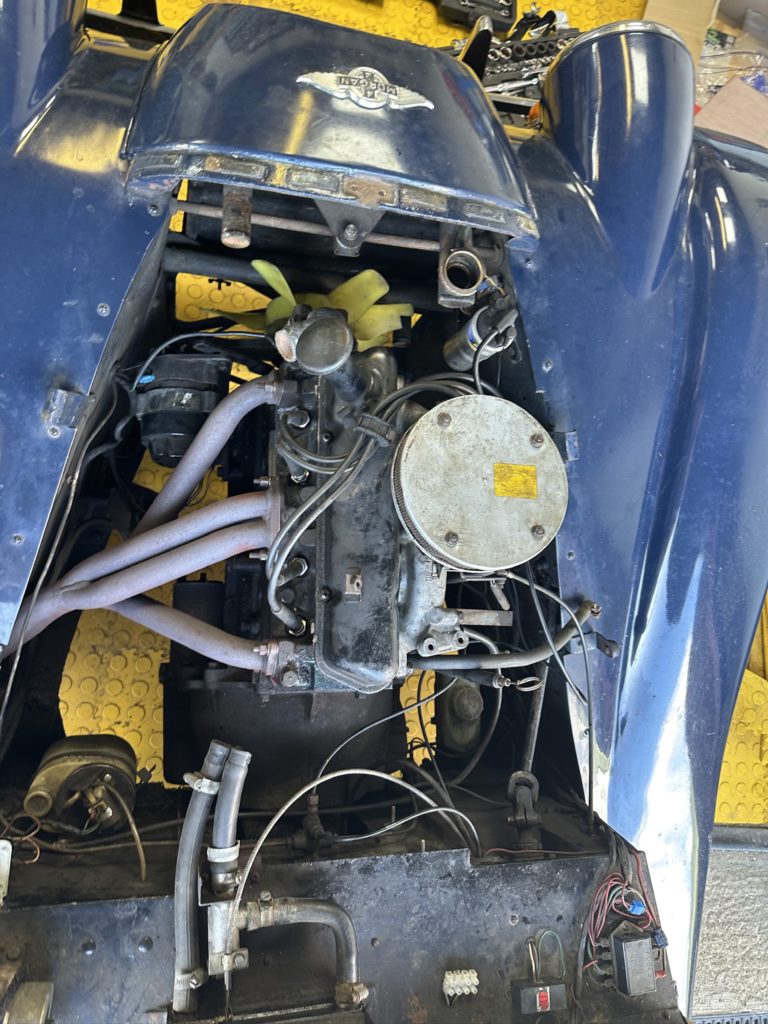
This meant I could get a closer look at the engine. I knew already that the valve cover gasket was leaking significant volumes of oil all down the block, and this was obvious because the engine was covered in oil, but it appeared that the head gasket itself was leaking a mixture of fluids as well. I then started tearing down the engine:
Happily the exhaust studs came out without much complaint. I cleaned up the threads, used some penetrating oil, and heated each one with the map gas torch. Some of the nuts came off of the studs, but mostly the studs came out of the head. Regardless, the threads on all were in good enough shape to re-use for this purpose.
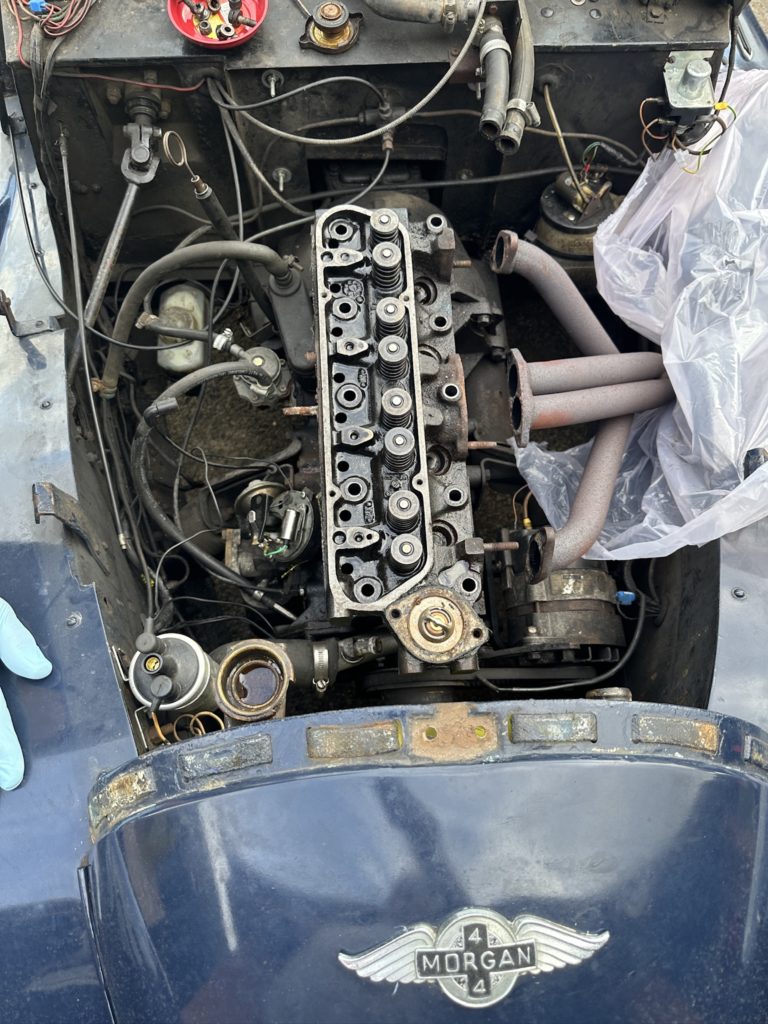
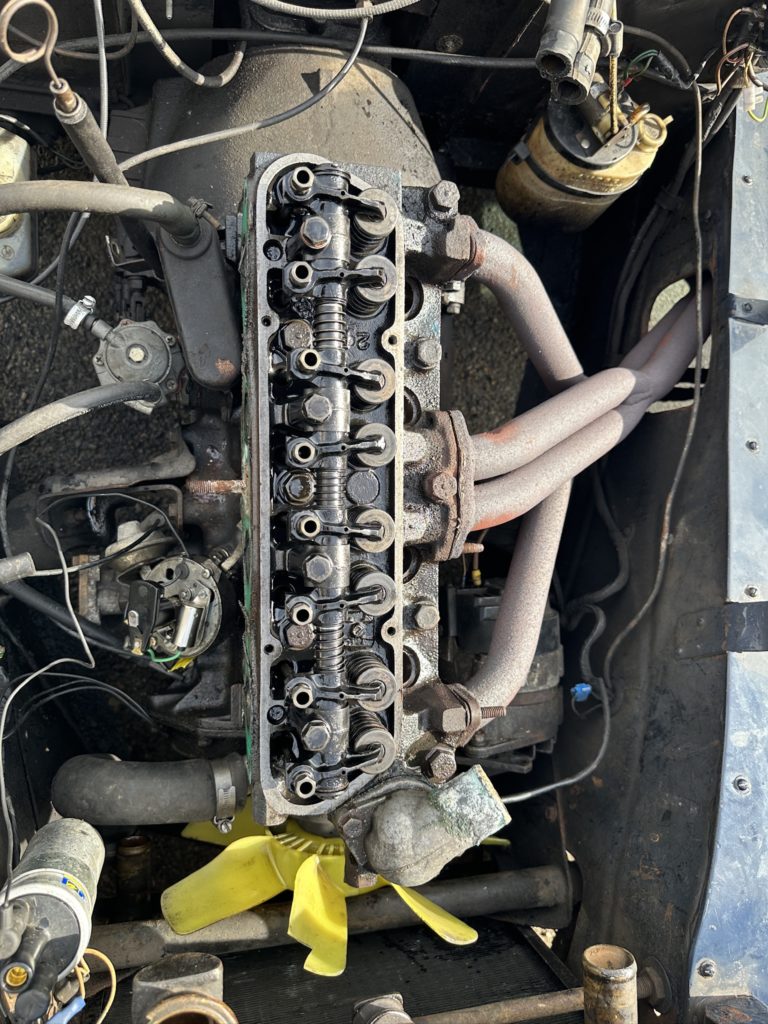
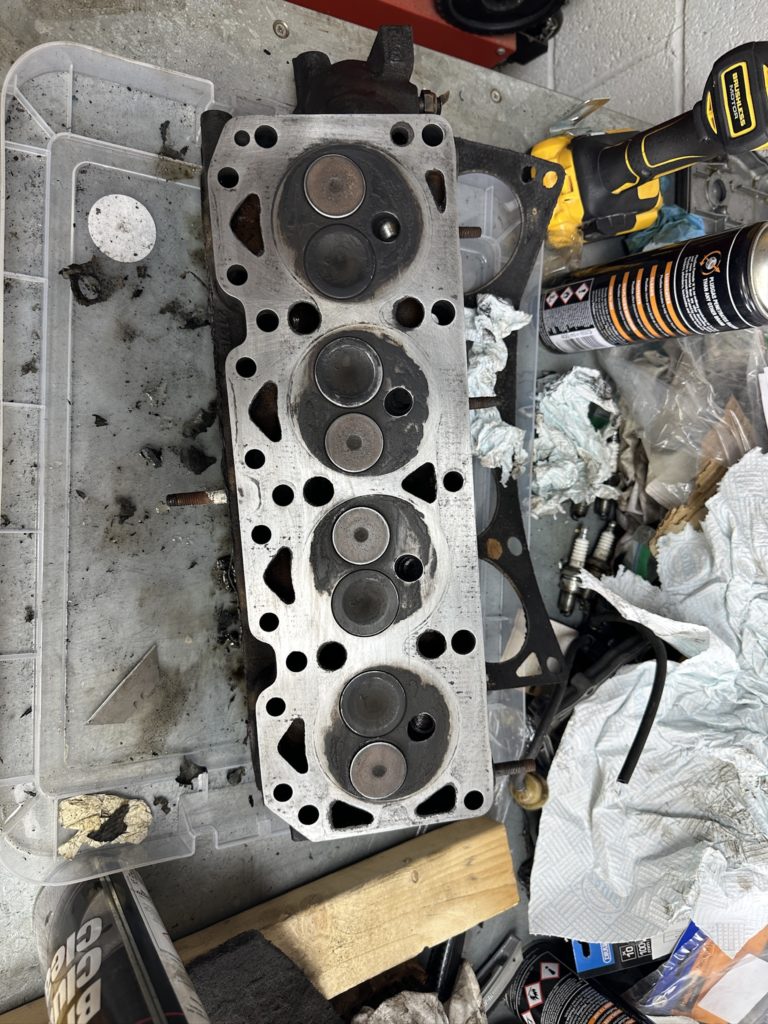
I also removed the rocker arm, push rods, and head bolts before I could pull the head:
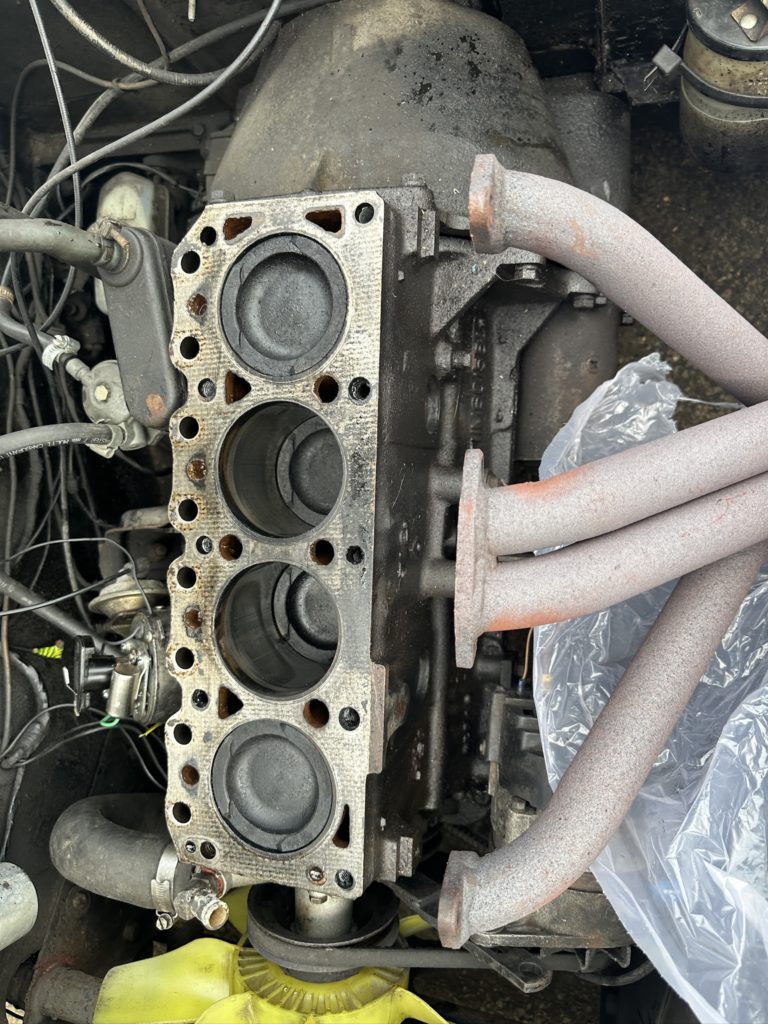
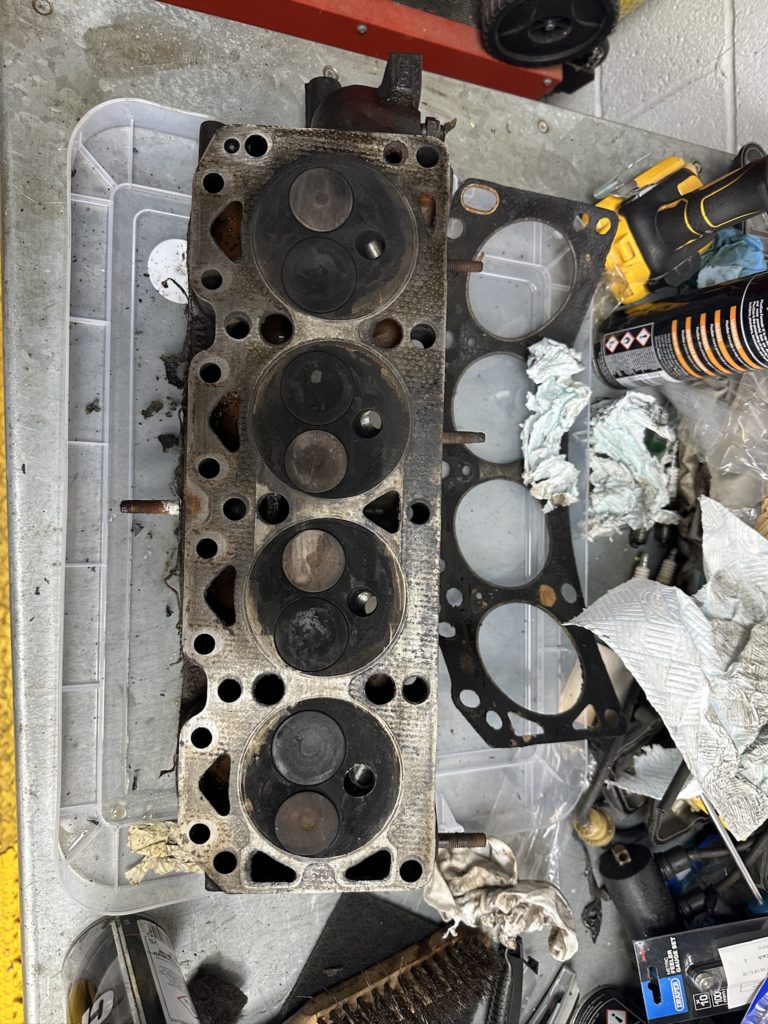
The head looked in okay condition. I didn’t have a straight edge to check for warp with so I just hoped for the best. I cleaned up the head and the block surface:
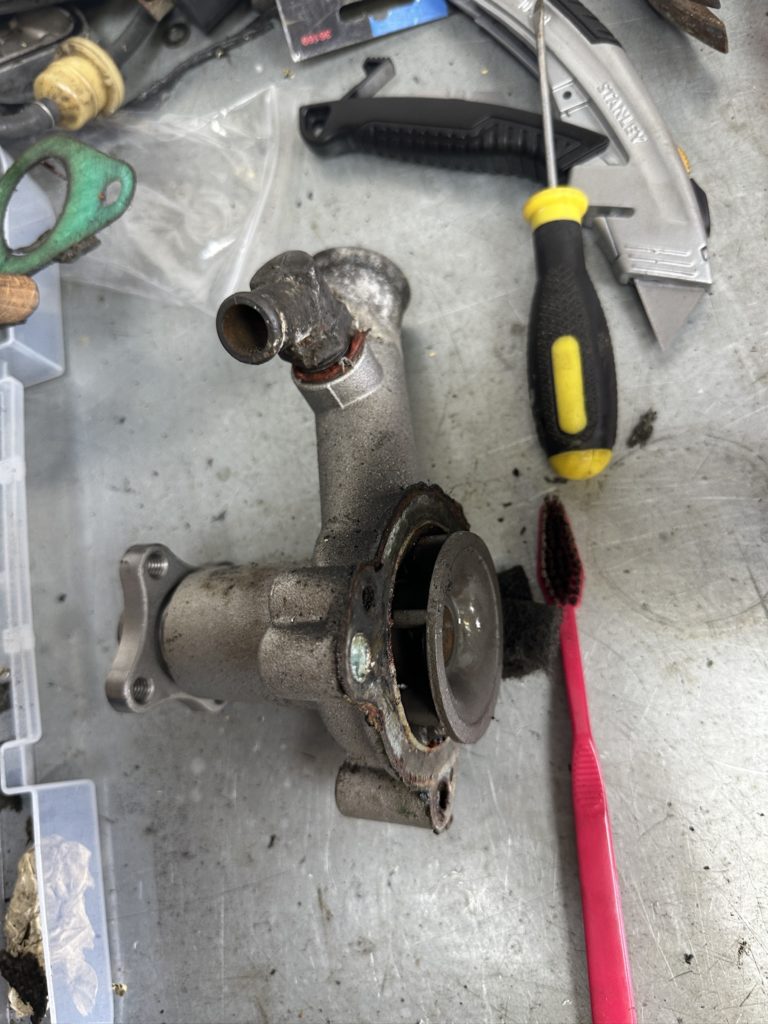
I also replaced the water pump:
and rebuilt everything:
Frustratingly, the Kent engine head bolt torque specs require that you set an initial torque, start the engine, warm it up for 15 minutes, let it cool for 24 hours, and then re-torque the bolts. This proved to be necessary as 4 of the bolts did in fact take additional torque, but it was still frustrating having to do everything twice.
If you remember from my collection post, the engine was backfiring through both the exhaust and the carb. When I checked the valve clearances they were all completely closed. I couldn’t get the 0.05 gauge in the gap. I obviously reset these all to the correct clearances, and re-assembled the top end again. I then re-filled the cooling system and burped it, put in new plugs, re-connected the various lines, and fired her up:
She ran started on the key first time and ran brilliantly, which I was thrilled about.
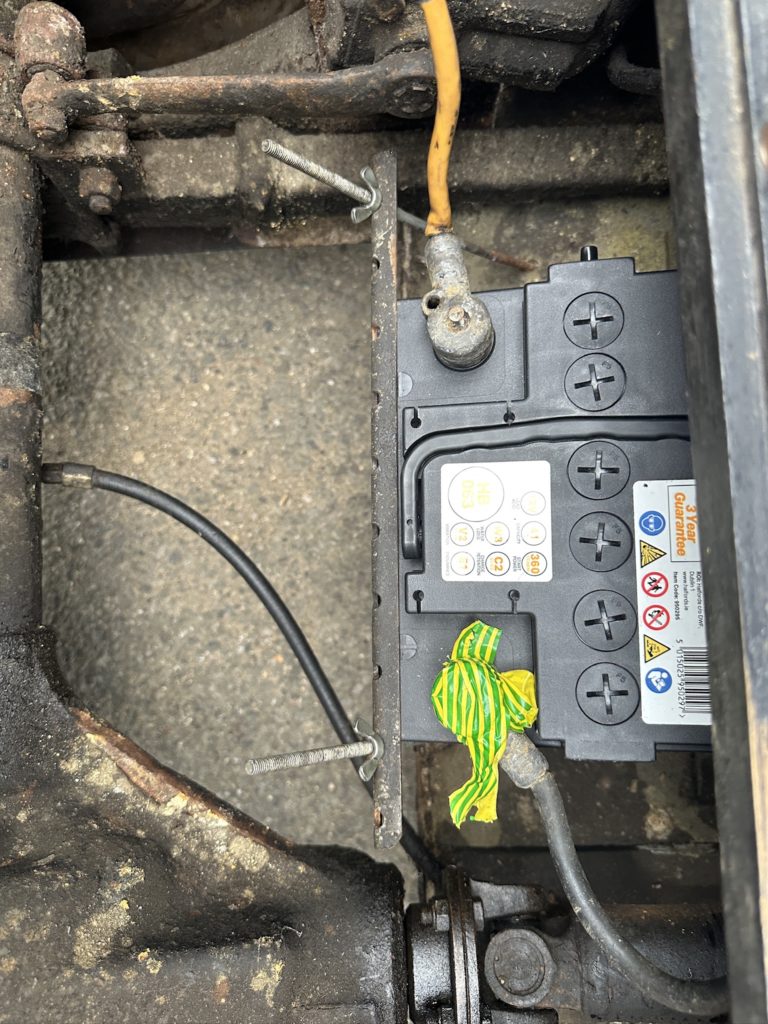
I then turned my attention to replacing the battery. When I looked at it, I realised it had these awful terminals that require you to tap a screw into the battery post. I attempted this, but it was extremely tough going. I resorted to, as a temporary effort, simply taping them in place with a semi-tapped screw:
I then performed an oil and filter change:
I then took her for a test run:

Which was extremely successful! She still had a bit of hesitation, so the next day I set the ignition timing:
Which solved almost all of the running issues.
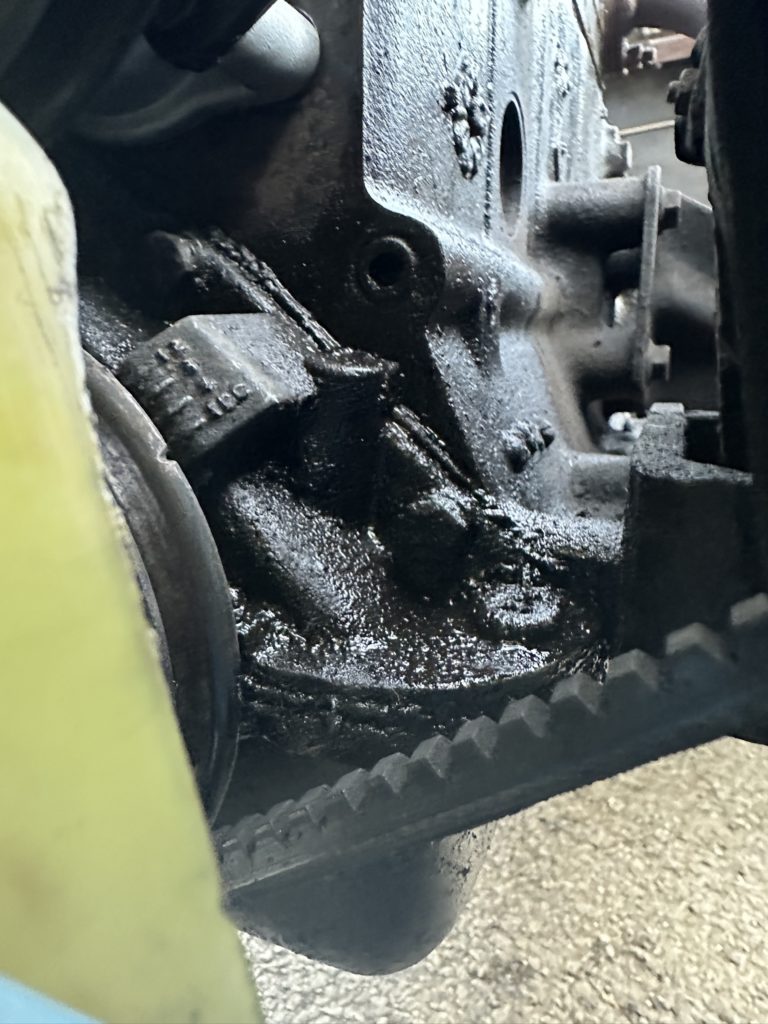
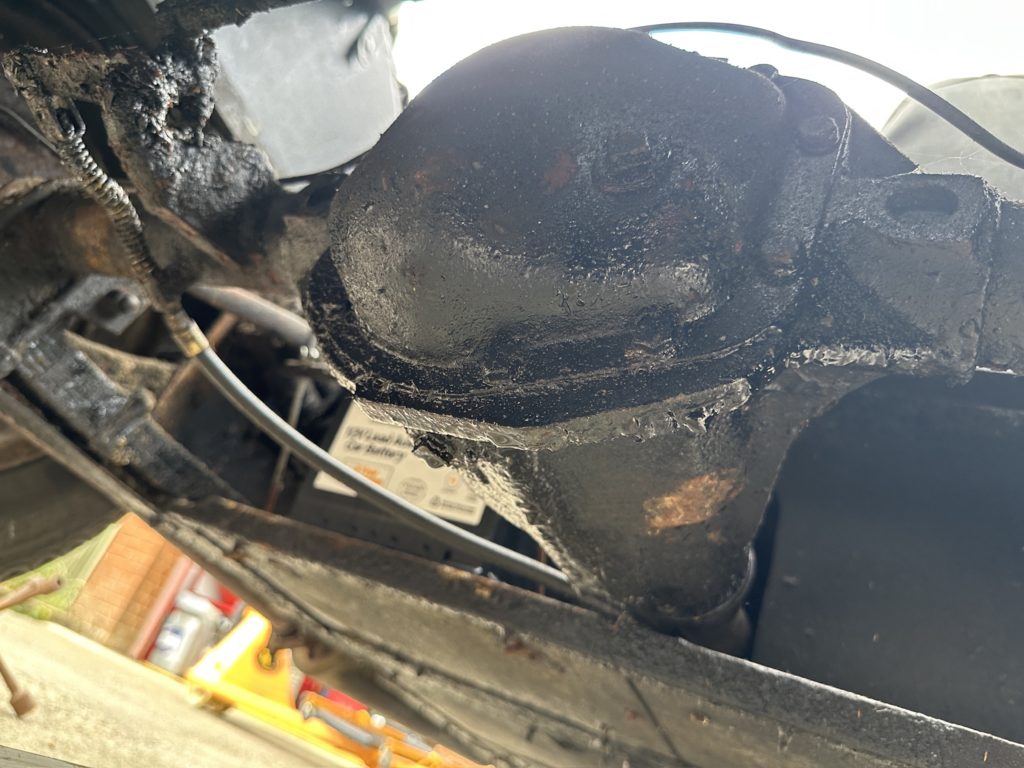
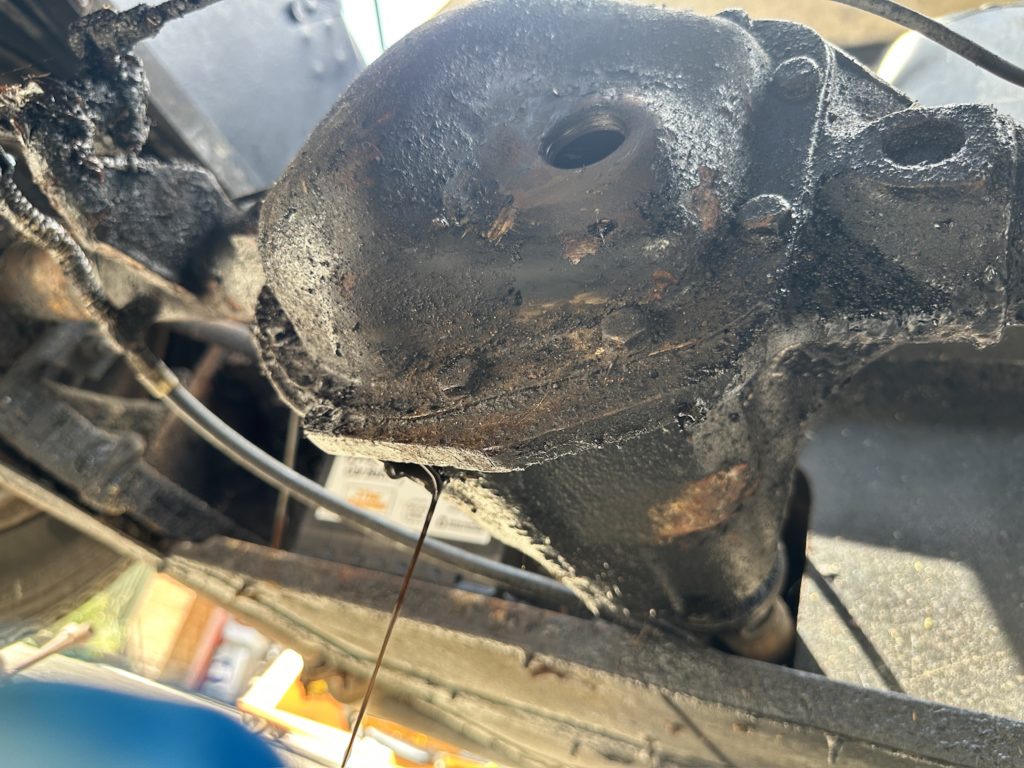
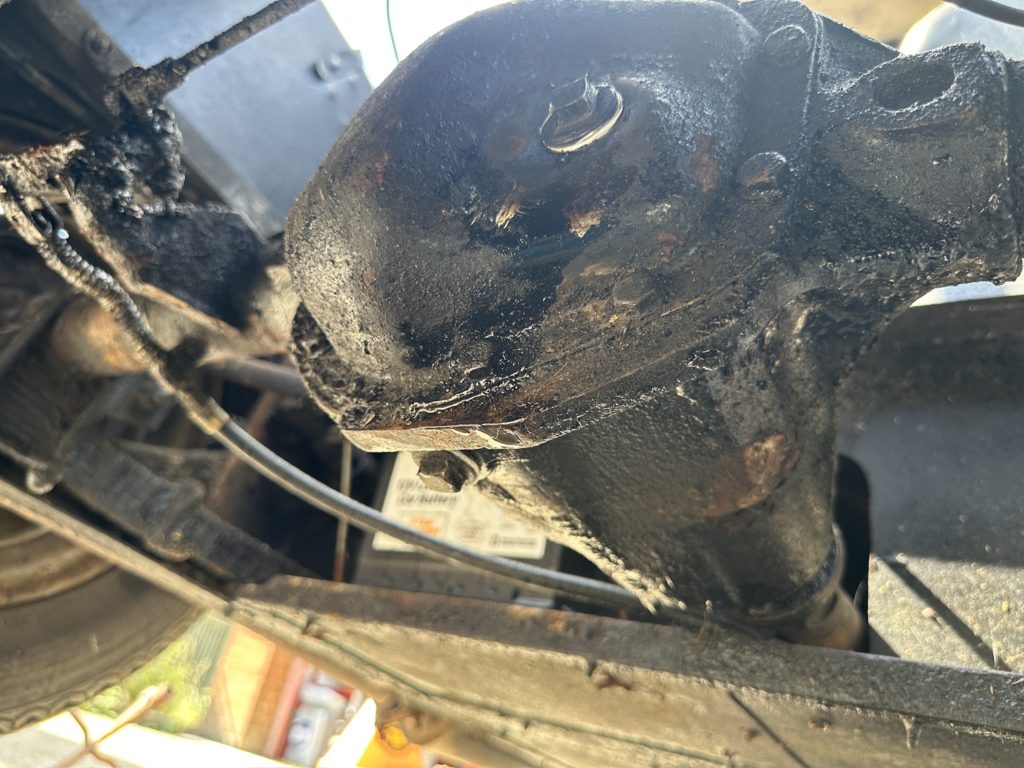
Now, when I had been inspecting the car, I had noticed a significant leak from the rear differential. This was coming from multiple places, namely the back plate gasket as well as the nose seal. I intend to have the axle fully rebuilt over winter, but I thought it best to change the oil and ensure that it was at least close to the right level. This necessitated removing the fill and drain plugs.
One would think this wouldn’t be too bad given that they spend their lives covered in oil, however this was not to be. The drain plug came loose with great ease, but the fill plug proved a nightmare. After much penetrating oil, very significant heat, and a lot of brute force, it eventually gave way:
I drained the oil, re-filled the diff, and put the plugs back in with PTFE tape on them to help prevent any leaks.
I was then able to put the rear shelf in for the first time:

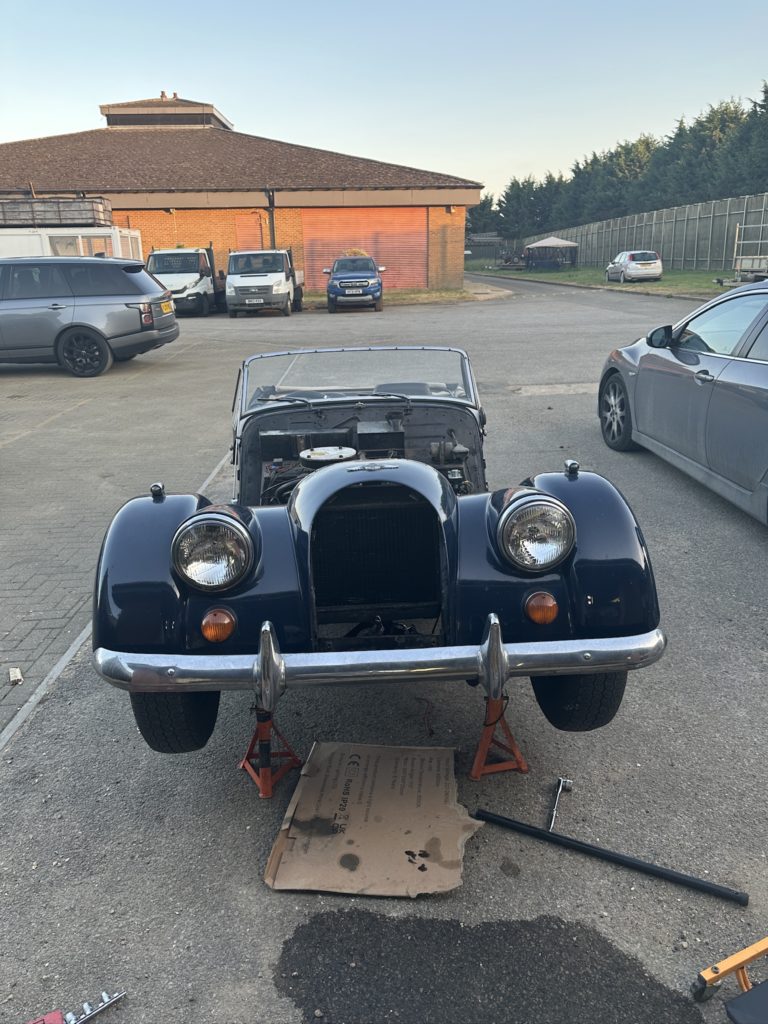
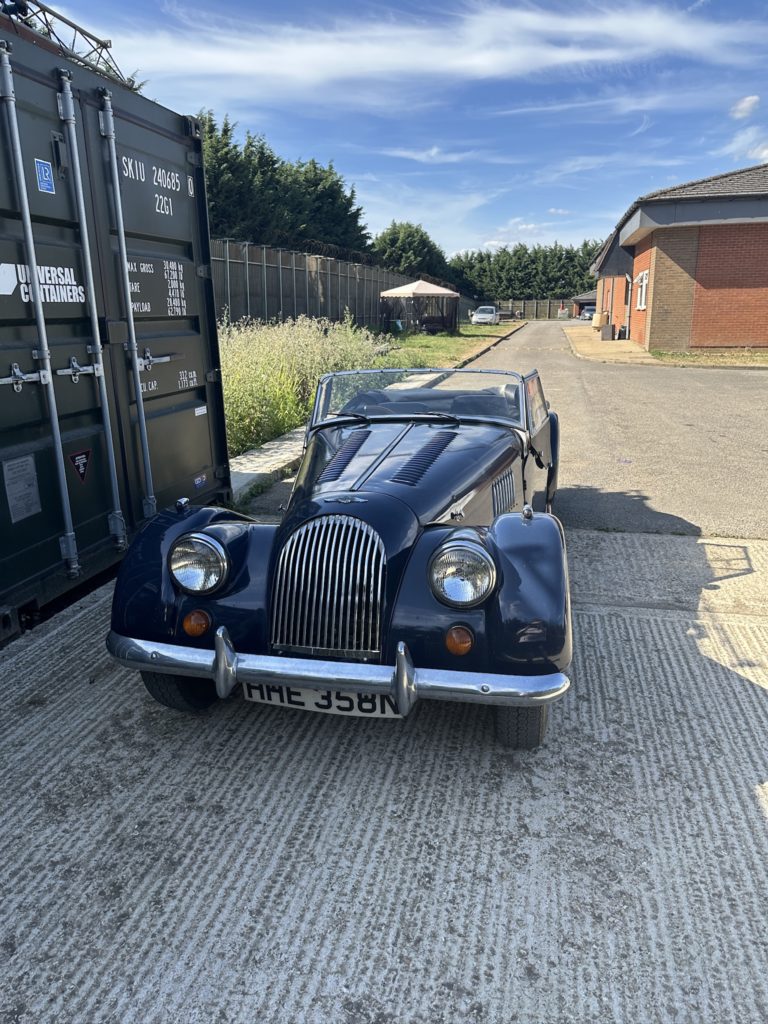
I put the grille back in, got my father to come and assist me with putting the bonnet back on, and she was ready to set off driving!


Leave a Reply